
Settings
Table of contents
Settings Section
Every user can customize their settings and options in Nozbe Classic. They can also print their recent invoices, upgrade their plan, or change the time zone there.
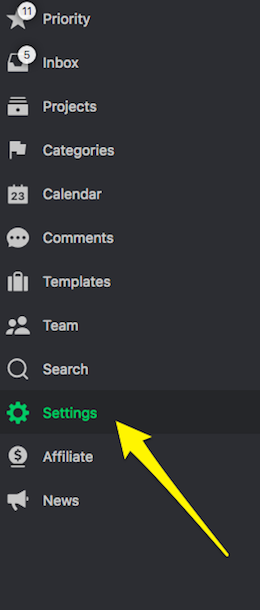
“Settings” section is located under the gear icon found on the icon bar on the left in your Nozbe Classic app.
Your Account
The Account section includes the information on your current plan in Nozbe Classic, a number of projects and team members you have in your team, and slots you have in the plan that you’re using, the date up to which your account is valid.
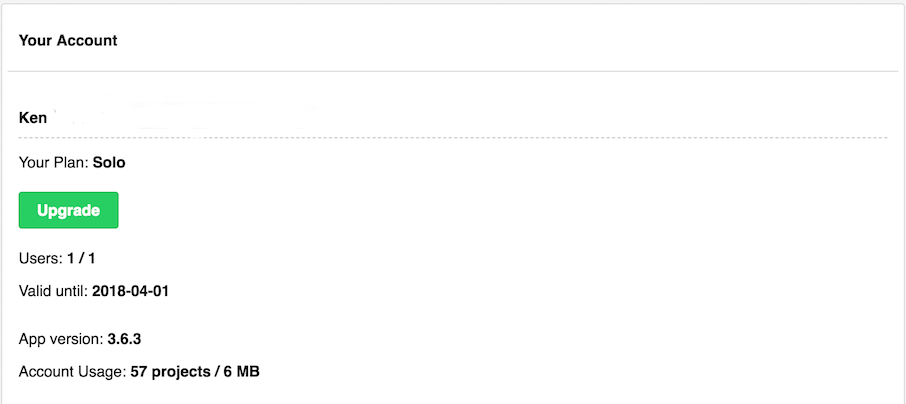
There is also the „Upgrade“ button that lets you change the current plan.
The following two lines inform you of your account contents:
- App version you’re currently running
- Number of projects and storage space you are using.
Please note that Trial and paid account users can create as many projects as they wish and can use unlimited data storage.
In the Payments area, you see the payment information, and you can update the payment method. It offers you direct access to printable invoices for every payment you have made. Just click on the date. You can either print to a .pdf format or send a document directly to your printer.
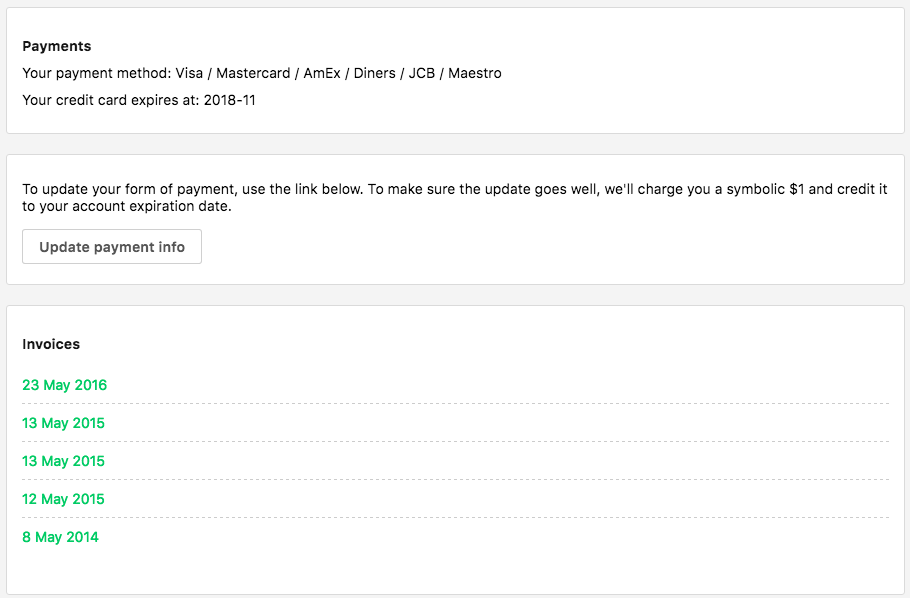
In this section you can also stop your renewable subscription.

If you wish to stop the Apple subscription, go to your Apple account > subscriptions, and cancel it there.
Personal Info
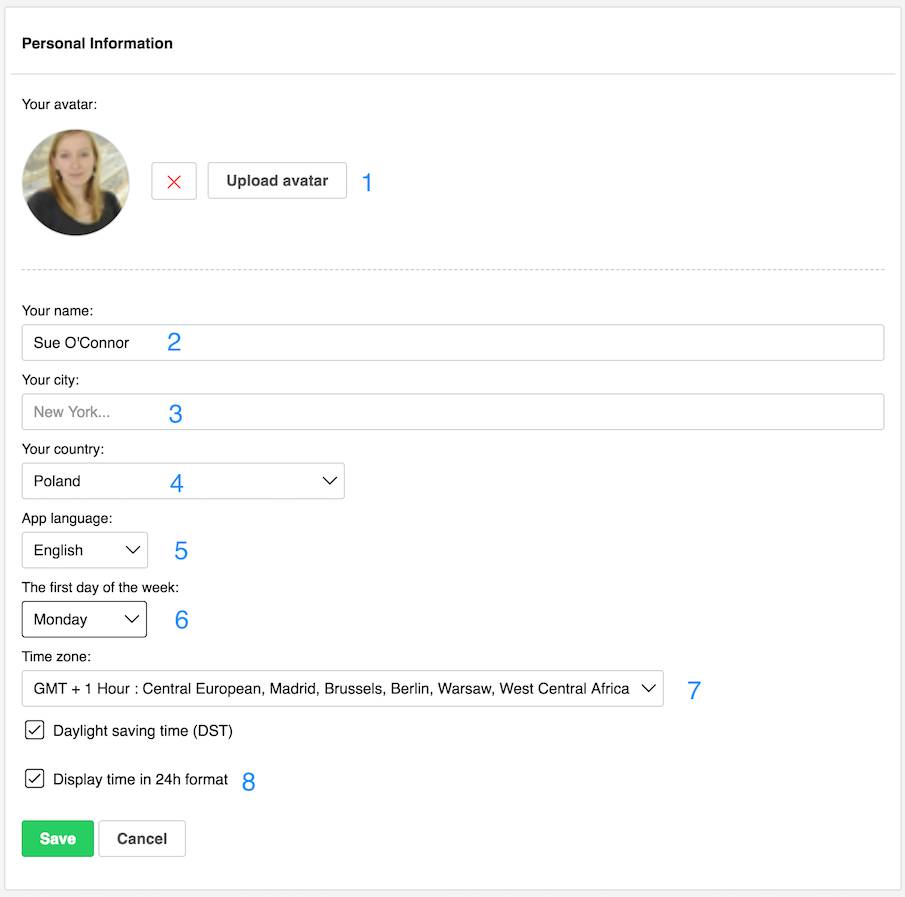
- Here, you can upload, change, or remove the avatar or image representing you as a Nozbe Classic user. It lets your teammates distinguish between tasks/comments made by you and delegated to you.
- Here, you will find the name you have used to create the account with - you can change it anytime
- Shows the city you chose when signing up
- The Country, which you reside in. You can change it by selecting a different one from a dropdown list
- Set the language in which you wish to use your Nozbe Classic account
- It allows you to decide which day your week should start with. In the US, calendars often start with Sundays and in Europe - with Mondays. You can choose any day you want
- Time zone. This option is particularly important in the case of discrepancies between your Nozbe Classic and other calendars or devices you might be using. If you notice a difference in time set in tasks, please check if the zones in your other apps and locations correspond to the one set up here and amend if necessary. If necessary, disable the daylight saving time (DST) here.
- The time is automatically set to the 12h format. You can change it in 24h time format here.
Please, confirm each change by using the “Save” button.
Password Change
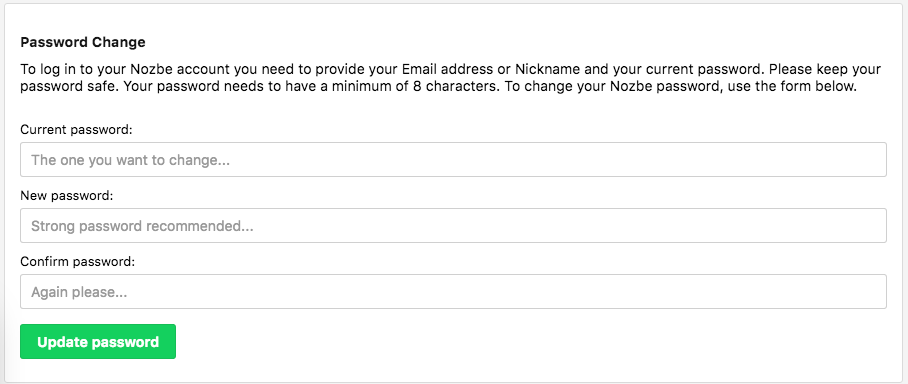
You can also change your Nozbe Classic account password in the “Personal Information” section. To do so, you will need your original password (or a temporary one sent by Nozbe Classic in case you lost your password).
Type your old password in the first field and then write the new one twice. Use “Save Changes” to confirm.
Email Address Change
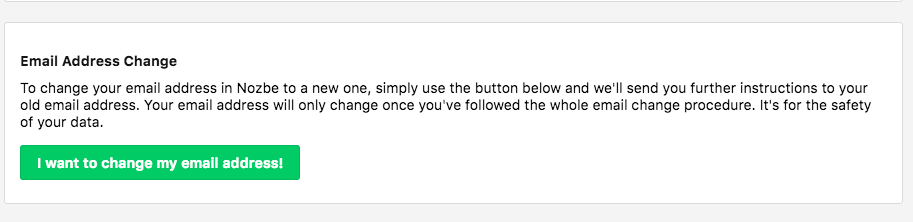
Please note that this option will send a confirmation message to your old email address, so you do need to have access to it. If you don’t, please contact our Support Team to request their assistance.
Migrate data from Nozbe Classic to Nozbe
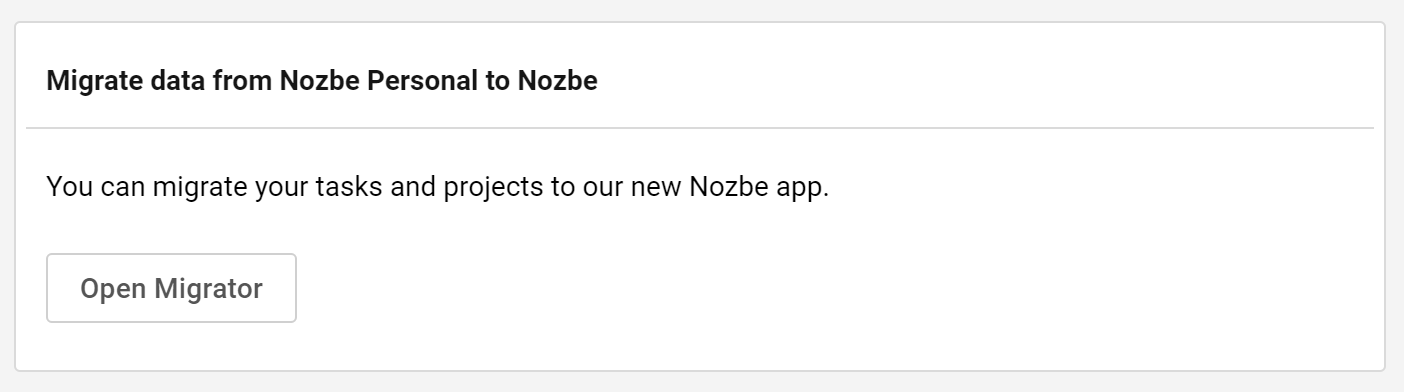
If you want to migrate your data from Nozbe Classic to our new app, Nozbe, hit the “Open Migrator” button to start the migration process.
For more info, visit the Migrator’s website.
Export Your Data
In the Account section of your account settings, you will find the possibility to Back up your data, in other words, Export it.
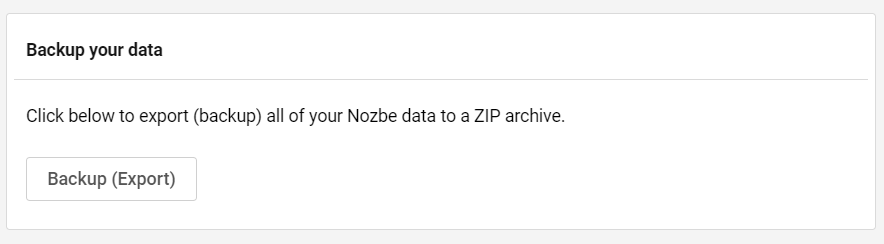
This way, you can download all the data from your account: active and completed projects, tasks, and attachments. You can keep it on your computer or import it to a different tool.
Tap on the ‘Backup’ button, and you will create a ZIP archive with a “Files” folder that contains all of your attachments, and four documents. Two of them are text files (.txt), and the other two are .json files. The aim and content of both types of those documents are the same.
Please, keep it in mind that the time needed to backup up your data depends highly on the size of your account, and it may take up to an hour.
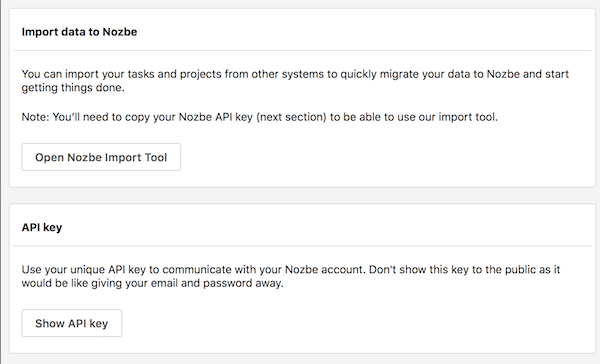
In the same section, you´ll also find the possibility to Import data to Nozbe Classic option as well as your API key.
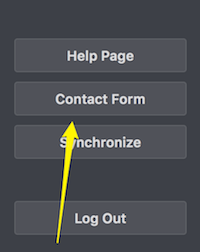
Are you happy with Nozbe Classic? Do you need help? Just do not hesitate to contact us, using the contact form.
Cancel Nozbe Classic Account
In the section “Account Cancellation,” you can close your account.

Once you click the link, you will be taken to the confirmation window. After confirming the cancellation, you won’t be able to access your account. Any attempt to log in will result in an error message informing you that there is no such account (unless you have created a new one under the same address).
Affiliate Program
The information contained here is only necessary data that allows you to start referring others to Nozbe Classic.
Only once you have the first referee will the Affiliate tab in the general menu on the left appear among your options.
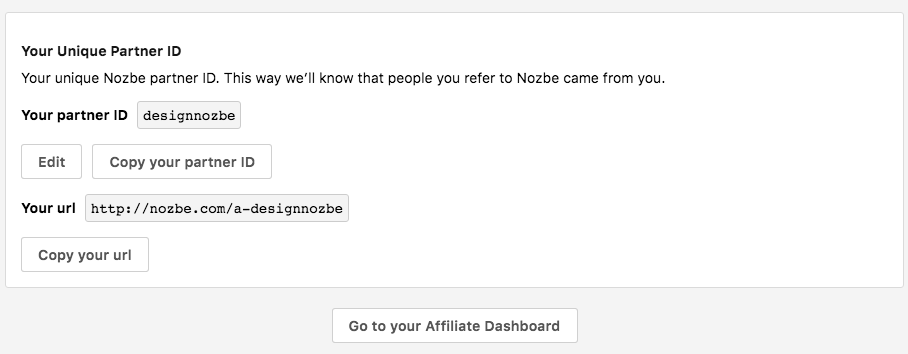
The “Affiliate” tab includes the information on your current Referral program statistics, a number of visits and accounts signed up, your sales, and processed payments. In it, you will also be capable of changing/customizing your affiliate link.
Notifications
Here you have two sections:

Email notifications - if you wish to receive emails on activities of the people you share projects with, invitations to other members' projects, and productivity reports.
Push notifications - if you want to be informed every time one of your tasks becomes due, someone wants to share a project with you, delegates a task to you or mentions your @username in their comment. This section is only available for apps that do have push notifications, namely: iOS, Mac, and Android.
For more information, go to the Notifications section of our help page.
Integrations
Nozbe Classic works with your favorite apps to help you get even more done. This section lets you manage the way Nozbe Classic synchronizes with these tools.
E-mail tasks to Nozbe Classic
The following area serves to set up your nickname and PIN in Nozbe Classic. Once you choose them, you can email tasks to Nozbe Classic.
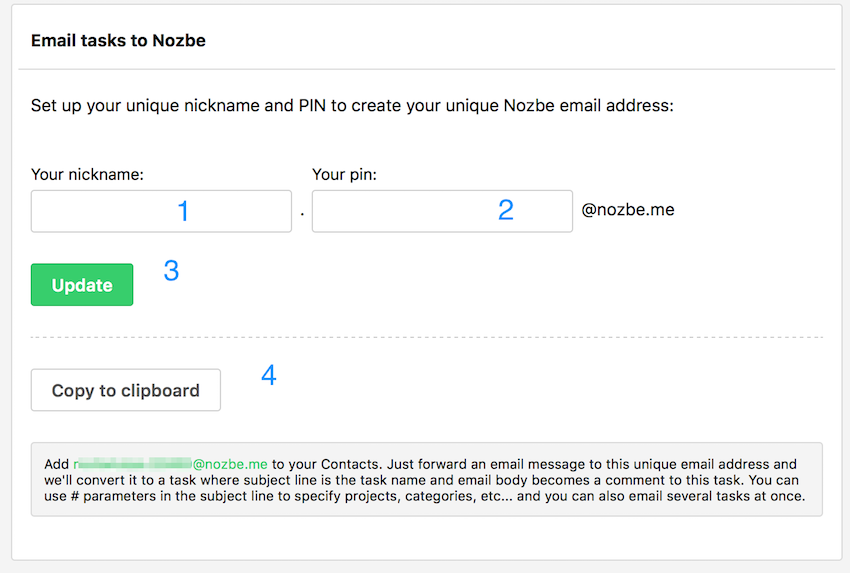
- Type your nickname here (1)
- Type your PIN (2) here and save changes (3)
- You can also copy the address (4)
- Your Nozbe Classic email will be now: nickname.PIN@nozbe.me
Please, see how to e-mail tasks and comments to Nozbe Classic and learn the best tips and tricks that will make you even more productive.
Google Calendar
You can synchronize your Nozbe Classic calendar with your Google Calendar to never miss deadlines again. It’s seamless and works both ways! Once you set up your integration with Google Calendar, you will be getting reminders regarding due task there. Those are fixed in 30 minutes before an event - you can turn them off in the settings.

Evernote
You can attach your Evernote notes to tasks and projects by connecting your Nozbe Classic and Evernote accounts.
Learn, step by step, how to enable integration with Evernote
Once you have your Nozbe Classic linked to Evernote, the integration will automatically cover your Evernote Reminders. A reminder added in Evernote will appear in your Inbox as a task with the due date set in Evernote and a context “Evernote Reminder”. The note itself will be attached to it as a comment.
Dropbox
In this section, you can connect your Nozbe Classic and Dropbox accounts to be able to attach Dropbox files as comments to your tasks and projects.
Learn, step by step, how to connect to your Dropbox account
Box
Connect your Box and Nozbe Classic accounts and attach your Box files to tasks and projects or access project-relevant data directly from Nozbe Classic.
Learn, step by step, how to connect to your Box account
Google Drive
Connect your Google Drive and Nozbe Classic accounts and attach your Google Drive files to tasks and projects or access project-relevant data directly from Nozbe Classic.
Learn, step by step, how to connect to your Google Drive account
One Drive
Connect your One Drive and Nozbe Classic accounts and attach your One Drive files to tasks and projects or access project-relevant data directly from Nozbe Classic.
Learn, step by step, how to connect to your One Drive account
Please note that there is a manual for each integration in the corresponding section in Nozbe Classic, so you can make sure you know how it works before you click a “Connect” button.
General
Gestures
In our iOS and Android apps for the touch devices, you can customize gestures. Read which gestures Nozbe Classic supports
In this section, you can change the behavior of swipes “right to left” and “left to right” - it can open a popover with the time needed, project, category, due date, recurrence, responsibility, complete a task or show task in a project view.
Browser in iOS
In the Nozbe Classic app for iOS, you can choose which browser you want to use to open links.
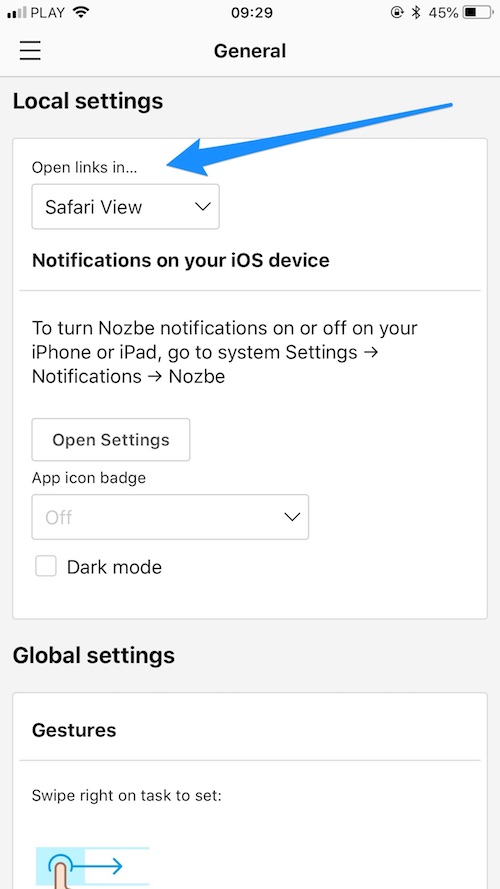
If you want to change simplified Safari View to Safari or any other browser you have installed in your phone, go to General -> Local Settings and choose the one you want from the drop-down list.
Icon Badge
Icon badge is an option available in the Nozbe Classic app on iOS, macOS, and Windows.
You can decide what the number on the badge icon should represent. Just select one of the options available:
- Priority tasks
- Inbox tasks
- Today tasks
- Overdue and today tasks
- Tasks with unread comments
- Tasks with unread @mentions
Please note that this setting is local, and it does not sync across all your devices. That is why you can set different values on your smartphone, tablet, computer, etc.
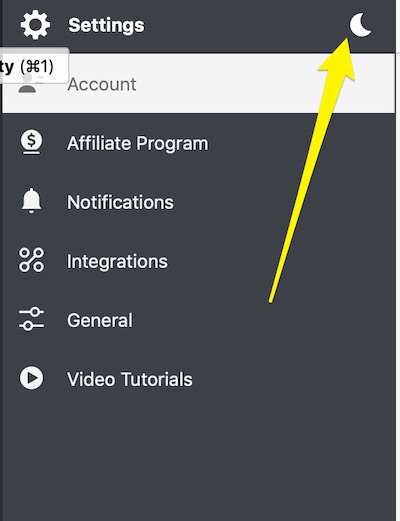
Dark Mode
You can change Nozbe Classic’s theme to dark mode. You will find this option in Local Settings.
Quick Add
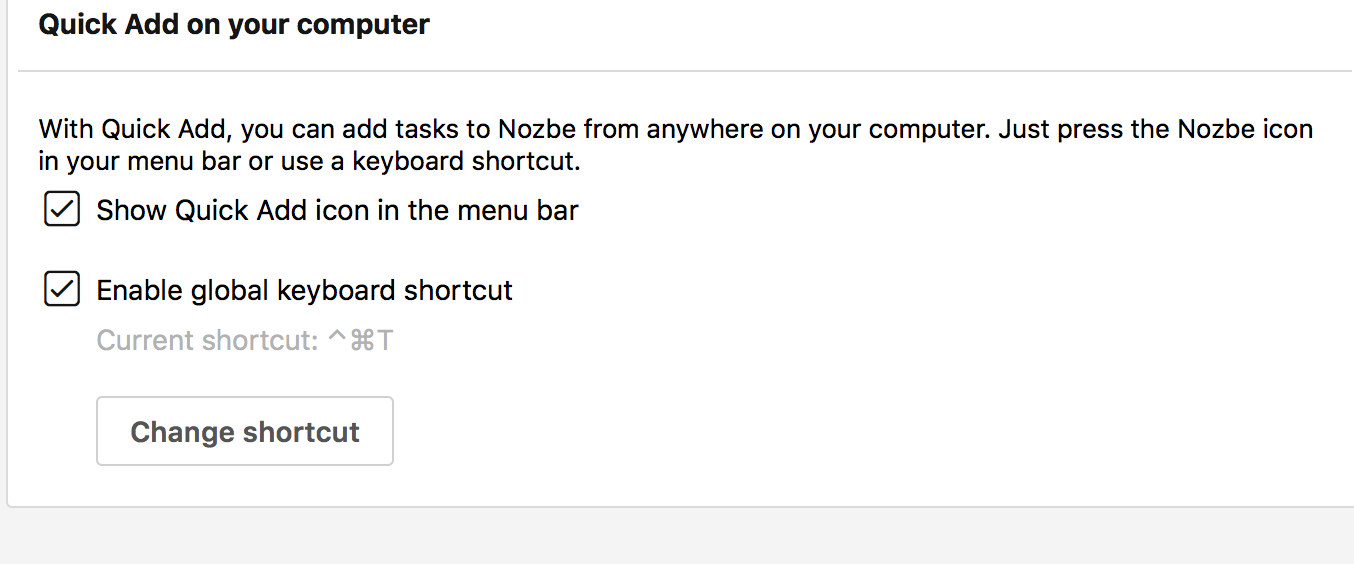
You can enable Quick Add function to add a task to Nozbe Classic from anywhere on the computer. There is also an option to change your Quick Add shortcut.
Tutorial
The last section in “Settings” opens a video tutorial for you. We have placed it here to ease accessibility to it for those users who wish to review it.


