
Project Labels
Table of contents
Video Introduction to Project Labels
What Are Project Labels?
Labels are used in Nozbe Classic to help you organize projects. Projects can be grouped and filtered by Labels and can be tagged by more than one Label.
Use Labels to tie similar Nozbe Classic projects together and arrange them in groups. Labels allow you not only to separate your private projects from business ones but also to tag projects with e.g. customer names or the names of your family members.
Assigning a label to a project
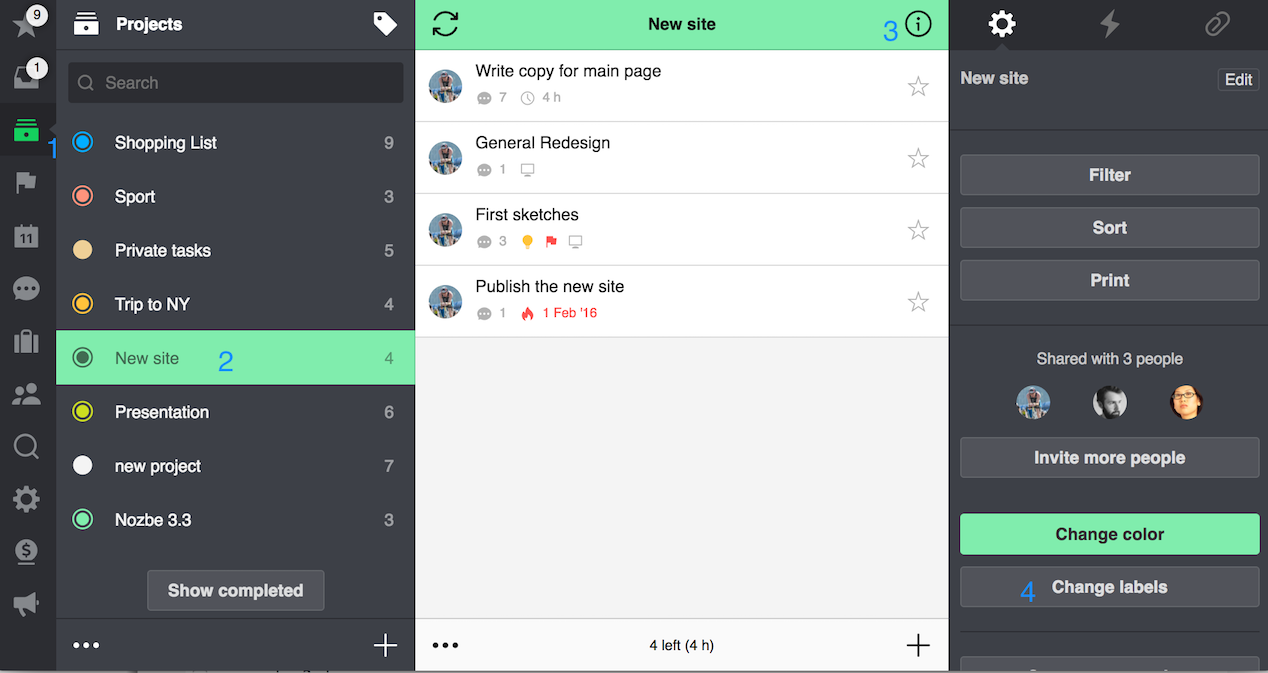
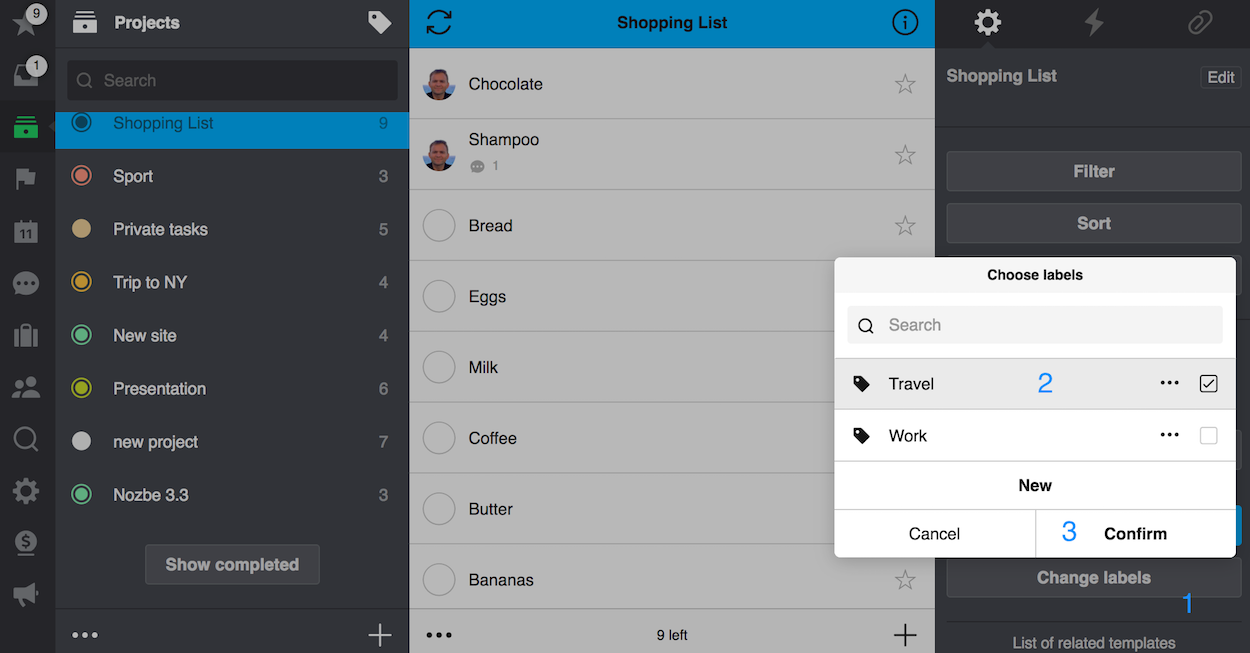
On the project list (1), select a project (2), go to its info bar (3 - click the “i” icon) to see its properties and go to “change label” (4).
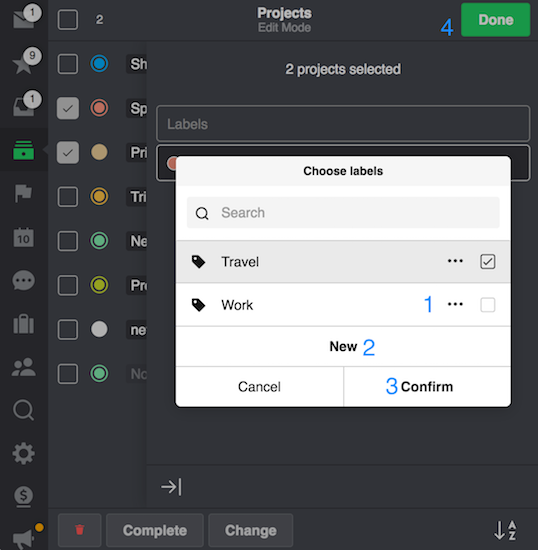
If you don’t have any labels set up, or you wish to create a new one, use the „New“ button to create a label:
Please note that white signs are not allowed in label names. Every space, tab, etc. in a label’s name will be automatically changed to underscore sign “_” after sync.
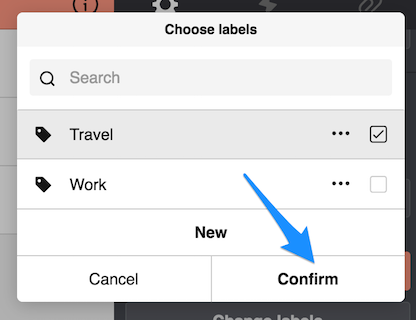
Once you’ve added a new label, select it and use the “Confirm” button to add it to the project.
Grouping Projects with Labels
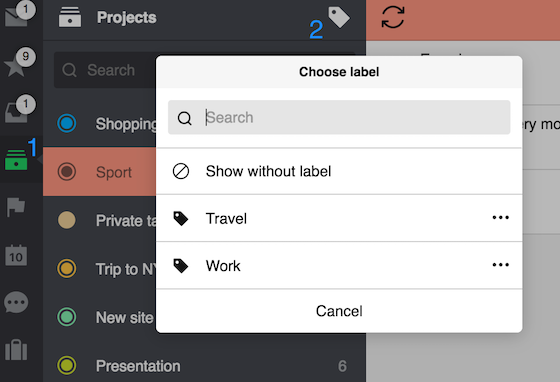
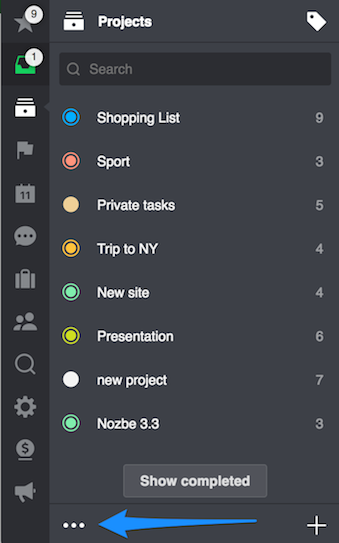
Once you have at least one label set up, you can group projects by labels in the project list. Open your project list (1) and then tap on label icon (2). Now you can choose a specific label to filter your project list to show you only those labelled by it.
Managing Labels
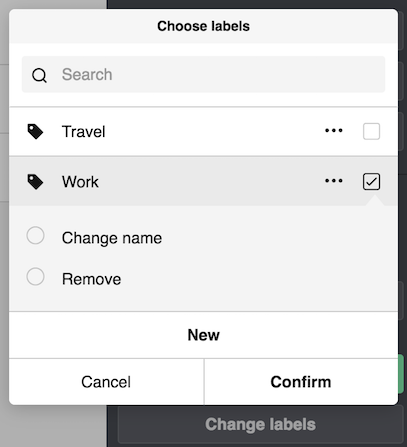
To manage, edit or remove labels, just go to a project’s info bar (steps 1-4 (No. 4 is ‘Change labels‘ button) and you’ll see three dots “…” (5) next to your labels.
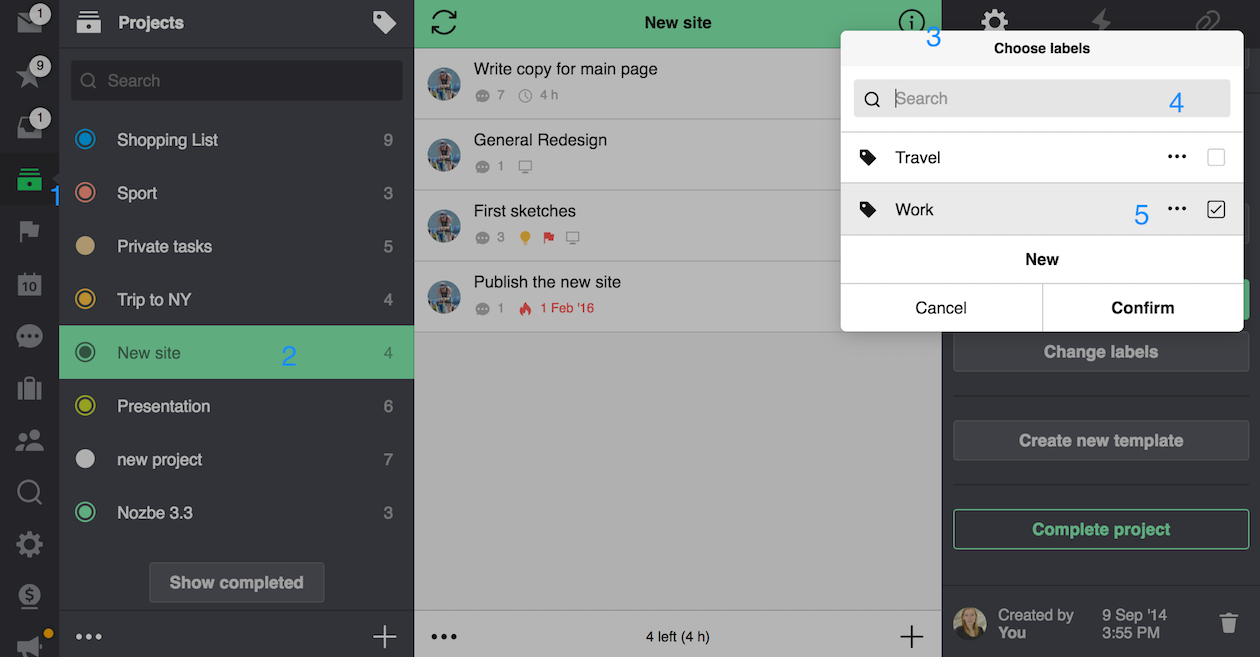
When you click/tap on the dots next to your desired label, you’ll be able to change its name or delete the selected label.
Assigning Labels to Several Projects at a Time
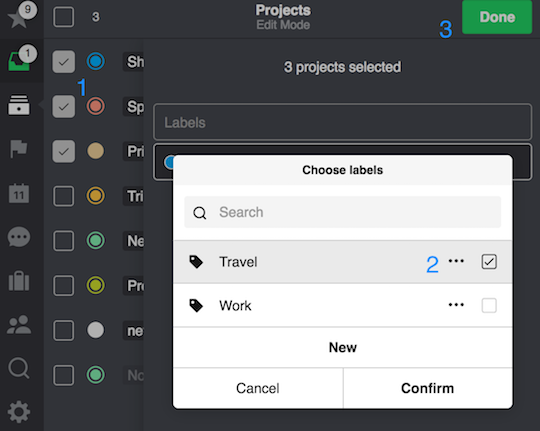
You can use the project multi-edit mode to assign one label to several projects at once.
Once in the edit mode, please follow these steps:
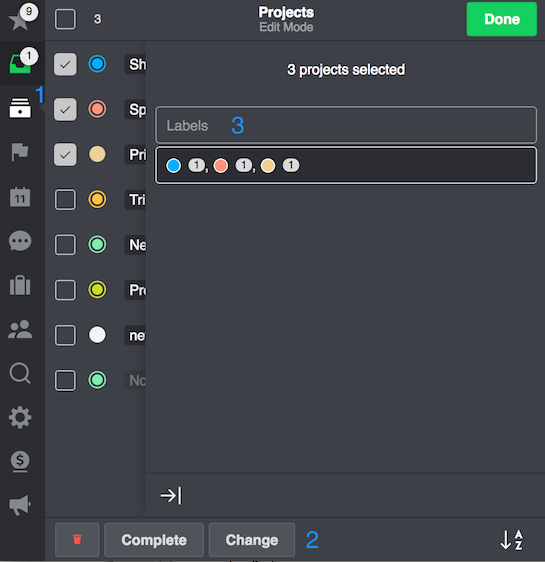
- Select projects of interest
- Choose “Change”
- Click on a label button
- Select a label you wish to attach or
- Create and add a new one
- Confirm adding new label
- Confirm all changes with the “Done” button.
Removing a Label from a Project
To remove a label already attached to a project (let’s say you wish to change it to some other or simply not have it on the given project), please go back to project’s info bar, choose ‘Change labels’ (1) button and:
click on it (2) - the background will go from colored to white - and confirm (3).
It is also possible to remove labels from more than one project at once in the projects ‘edit‘ view. Just select in the edit view projects you wish to remove the label from (1), click on them and the background will change from grey (selected) to white (unselected) (2), click on “Confirm” to apply the changes and then save it with “Done” (3).
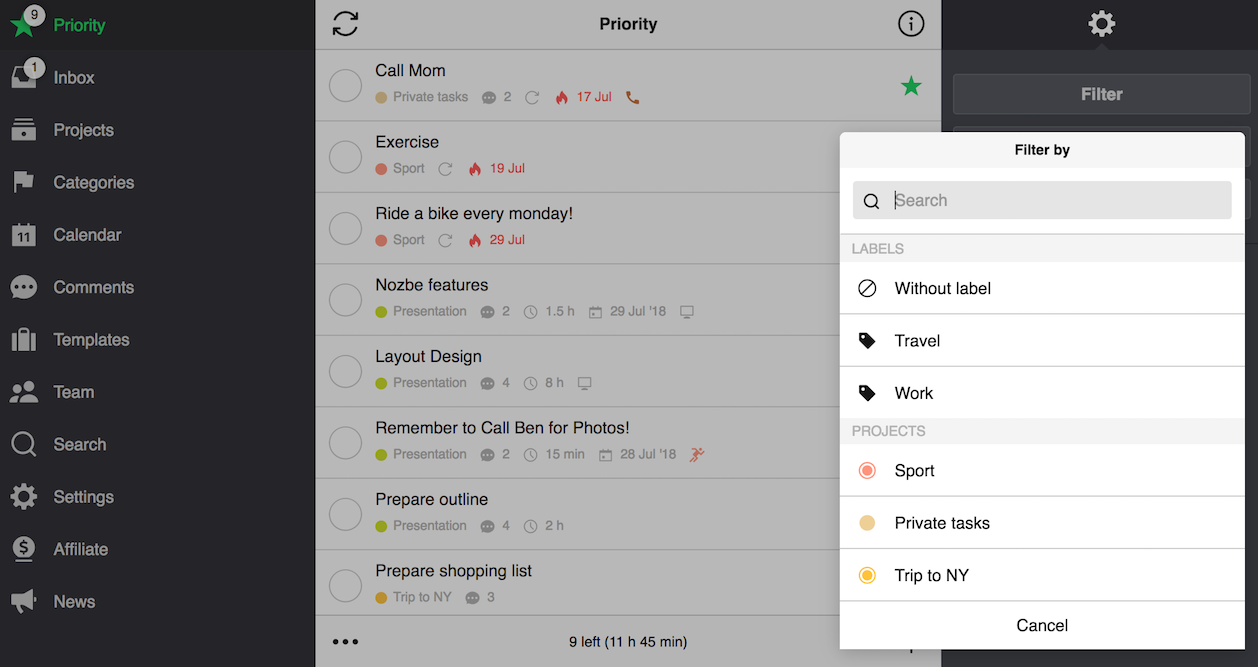
Please note that you can filter your priority task list by labels. It is very handy when you wish to work only on your private or business tasks at the moment. You´ll find this option in the Info bar (‘i’) in the Priority view:
More about labels
Want to know why labels are so useful and how you can use them to manage your different clients or projects? Check out our pro tips on our blog.


